If you have an old house building, you are probably tired of seeing the old floor. It must be outdated and brings a bore to the room. Now, what should you do to refresh the house? Well, continue reading this article to find out how!
Related article
How to Renew the Tiles?
If you want to give your personal touch to the house or a particular room (kitchen, bathroom, living room, etc.), you must dedicate yourself to change the tiles. Of course, you can call a skilled worker, but if you want to save more money, you will find that you can do it easily by yourself. Just have a bit of courage (which you acquire in a short time) and a bit of patience.
You could renovate the mortar or the mastic to revitalise the wall, or you can change the tiles by removing old ones with a chisel or, if they are not too thick and you do not notice much difference, you can overlay the new tiles above the old tiles. We will see together in this guide how to renew some of your rooms simply and effectively.
As a first step, you need to have:
- Screwdrivers
- Tiles
- Scissors
- 2 sponges
- Chisel
- Soft cloth
- Dented spatula
- Hammer to bang
- Protective glasses
- A round-tipped trowel
- Adhesive

Renew the mortar of the tiles
You must visualize and find out about how to do the renovation of mortar tiles. First, you will need to scrape the old tiles with the help of a screwdriver. You must be careful not to overturn the surface of the tiles. Then, with a damp sponge, apply the new mortar and eliminate the excess. When it is dry, you can clean the tiles with a slightly wet cloth, but above all, it must be cleaned. If you need to remove some tiles from the mortar, we will do it, but remember to reattach them with the mastic using a spatula to pass the mastic on the wall and behind the tile so that the fixation is perfect and the tiles are perfectly stable.
Renew the Total Tiles
If you need to change all the tiles, it is good to use a chisel to force it and start disconnecting them safely. You should avoid breaking them and create rubbish. Be delicate but determined at the same time to do this. Once you have completed the detachment of each tile, a deep cleansing will be required on the surface. Then, you can start moving the sand and cement mixture out of the tiles before starting to attach them to the wall.
Check and Improve the Stability
You will now pour sand and cement on the wall and on the tiles to make the surface more stable. To do this, it will be useful to know that there are specific tools you can find in all DIY and DIY stores, in this case, you will need a special spatula that will surely help you. This way you can place the mixture to create a uniform level behind the tiles. In fact, if the thickness of each tile changes, the wall or the surface will not be stable and there might be a risk of falling over it all. Check the general stability and make sure everything is perfectly aligned.
However, if your tiles were contained with asbestos materials, it is better for you to remove them first. But if you are not sure whether there is any asbestos presence in your house, then you should take a full inspection of asbestos testing Perth services. Once you are clear on the asbestos problem, then you can proceed to conduct the tiles installation by yourself!

How to Overlay Two Layers of Tiles?
Tiles are commercially available in different materials, which can be high quality or refractory; Normally, tiles are being used in buildings within offices or public services can be in ceramic, porcelain, stoneware or single-firing which is more commercial. Besides the tiles are available in different colours and suitable for different bathrooms. To install the tiles, you need to have some familiarity and experience at the building level. This guide will show how to overlay two layers of tiles, regardless of the kinds of materials they are composed.
What you need:
- Tiles
- Hot water
- Detergent for dishes
- Cloth
- Trowel
- Pieces of cardboard
- Cement
- Rule
- Spatula
- Detergent powder
Surface Cleaning
First, you’ll have to get the tiles. You can buy them in a building warehouse. Here, you must bring a tile as a reference model, in such a way to ensure that the new one can perfectly fit the existing lining type. After doing so, make sure the wall is clean and even. Otherwise, it will be hard to do it. Now, wash the entire surface with hot water and dishwashing detergent, then rinse it and dry it all with the aid of a clean cloth. Then put the sticker on the spatula with the help of a small trowel.

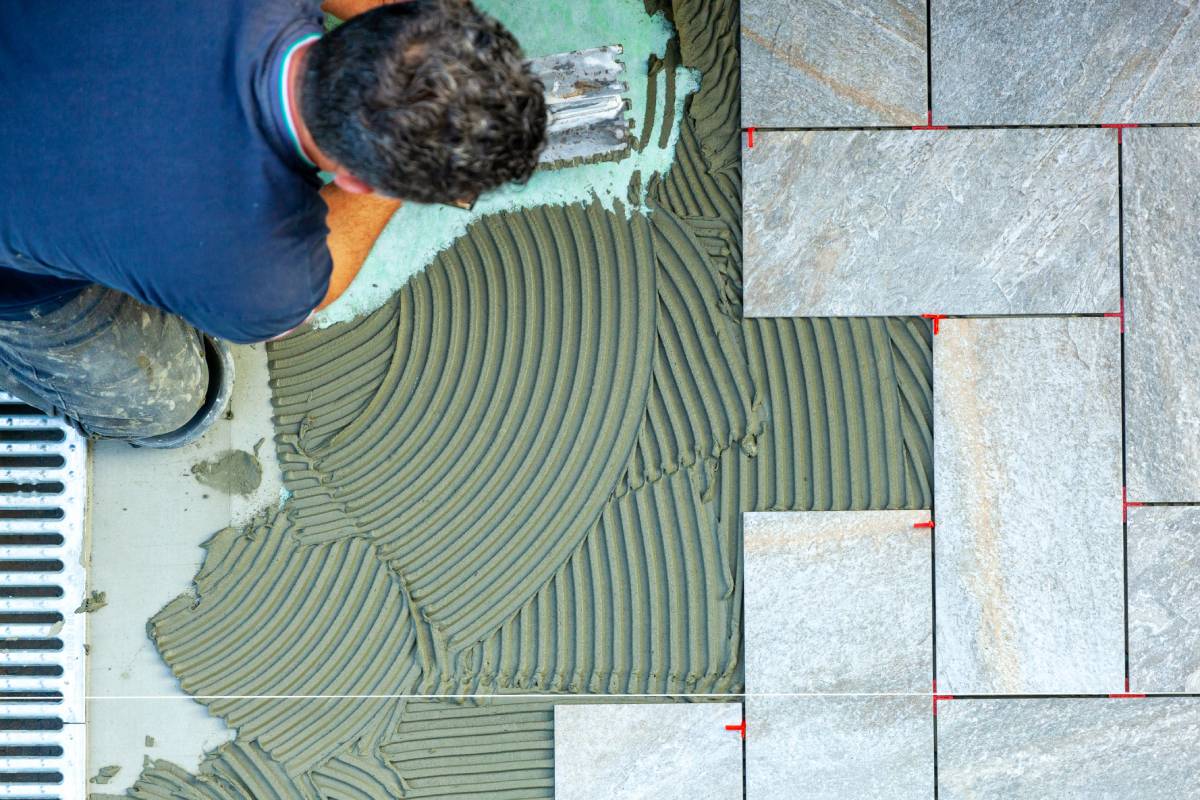
Distribution of Adhesive
Next, distribute the entire adhesive uniformly and work on one square meter at a time; it will be useful to prevent the adhesive from drying progressively. In case you need to resize many tiles, you can use some pieces of cardboard. The purpose is to delimit the junctions between the various tiles. After about six hours, you can remove the cardboard. Once the adhesive is dry, you can fill the junctions with a small dough of suitable cement, then continue to overlay two layers of tiles. At this point, you have to mount the tiles in the right position.
Tile Pressing
To do this, you will have to press it hard, and continuously check that the various files align perfectly, perhaps with the help of a rule. Also, you can lighten and fill the junctions between the tiles. If you are dealing with ceramic tiles, wash them with detergent and water. As for the junctions, you must clean them thoroughly by rubbing them with a hard spatula and detergent dust. Lastly, it is highly advised that you do not use abrasive powder: they, in fact, could affect the enamel of the tiles, irreparably compromising the aesthetic features. Do not forget to prevent yourself from using asbestos materials!