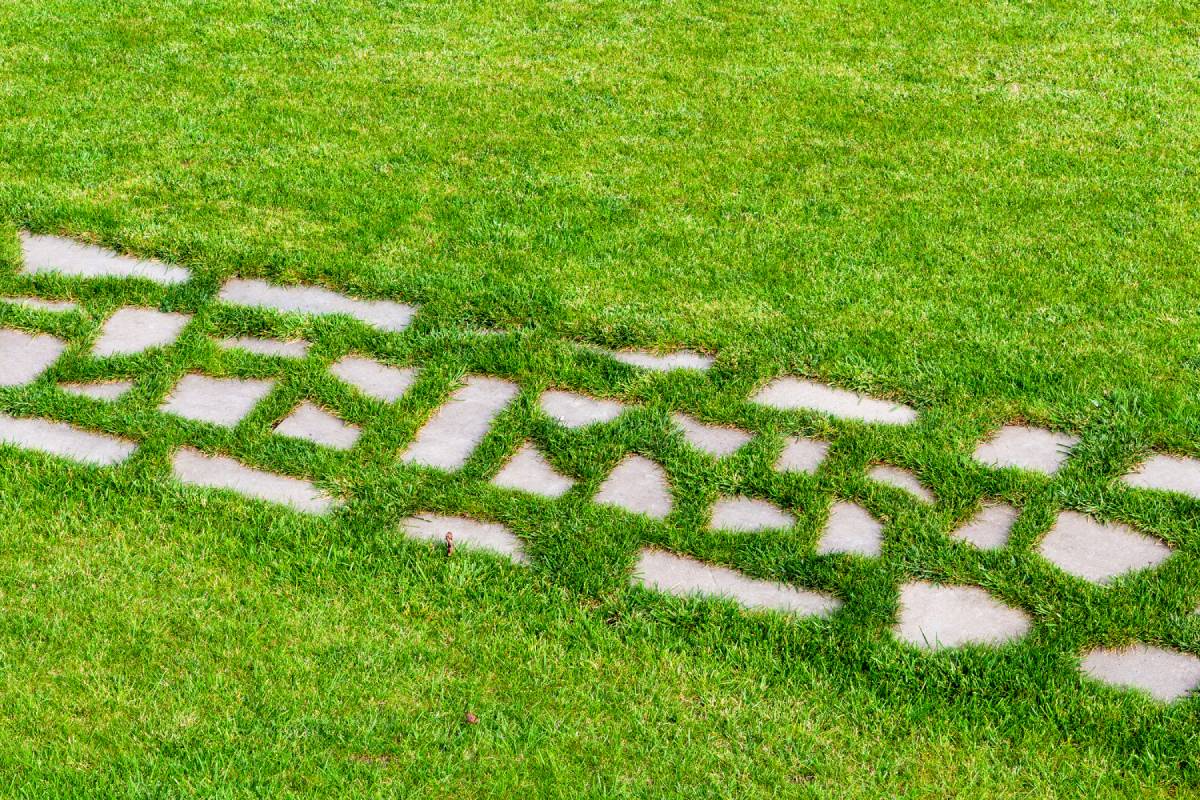
Installing pavers in the grass is a fantastic way to create pathways, patios, or functional outdoor spaces. Whether you’re enhancing your garden or creating a more practical walkway, laying pavers can be a straightforward DIY project.
This guide walks you through the process step by step to achieve a professional-looking result.
How to Lay Pavers in Grass: Step-by-Step
Step 1: Plan Your Layout
Before you begin, it’s essential to plan where and how you’ll lay your pavers. Consider the following:
- Purpose and Design: Are you creating a straight pathway, a curved garden path, or a patio? Sketch your design to scale for precision.
- Paver Selection: Choose pavers that match your aesthetic and are durable for outdoor use. Materials like concrete, natural stone, or brick are popular choices.
- Measurements: Measure the area to determine how many pavers you’ll need. Include some extras for errors or future repairs.
Step 2: Gather Your Materials and Tools
To complete this project, you’ll need:
- Pavers
- Shovel or spade
- Measuring tape
- Garden hose or string (for outlining)
- Level
- Rubber mallet
- Sand or gravel
- Weed barrier fabric (optional)
- Grass seed or sod (for finishing touches)
- Safety gloves and knee pads
Step 3: Mark the Area
Mark the area where you’ll lay the pavers. You can use a garden hose for curves or string and stakes for straight lines. Ensure your layout aligns with your initial design plan.
- For curved designs, use spray paint to outline the area.
- Double-check your measurements and spacing to ensure an even layout.
Step 4: Remove the Grass
Using a shovel, carefully remove the grass from the marked area. Follow these tips for precision:
- Cut Along the Outline: Dig along the edges of your layout first.
- Excavate the Area: Remove grass and soil to a depth of about 50-100mm (2-4 inches), depending on the thickness of your pavers.
- Save the Grass: If you want to reuse the grass elsewhere, cut it in sod-like sections and set it aside.
Step 5: Prepare the Base
A stable base ensures your pavers won’t shift or sink over time. Follow these steps:
- Compact the Soil: Use a hand tamper or plate compactor to flatten and solidify the excavated area.
- Add a Weed Barrier (Optional): Lay down a weed barrier fabric to prevent grass or weeds from growing between the pavers.
- Spread Base Material: Add a layer of gravel or coarse sand about 25-50mm (1-2 inches) thick. Compact this layer until it’s firm and even.
Step 6: Lay the Pavers
Now it’s time to arrange the pavers:
- Start from One Corner: Begin placing pavers at one corner or edge of your layout.
- Maintain Spacing: Use spacers or leave a consistent gap (about 5-10mm) between pavers for aesthetics and flexibility.
- Check the Level: After laying a few pavers, use a spirit level to ensure they are even. Adjust by adding or removing sand under individual pavers.
- Tap into Place: Gently tap each paver with a rubber mallet to secure it in position.
Step 7: Fill the Gaps
To lock the pavers in place:
- Add Sand: Spread fine sand over the pavers and sweep it into the gaps using a broom.
- Compact the Surface: Lightly tamp the entire area to settle the sand into the gaps.
- Reapply Sand: Repeat this process until all gaps are filled.
Step 8: Reintegrate Grass
To blend the pavers into the grass seamlessly:
- Trim the Edges: Cut around the pavers to create a clean line.
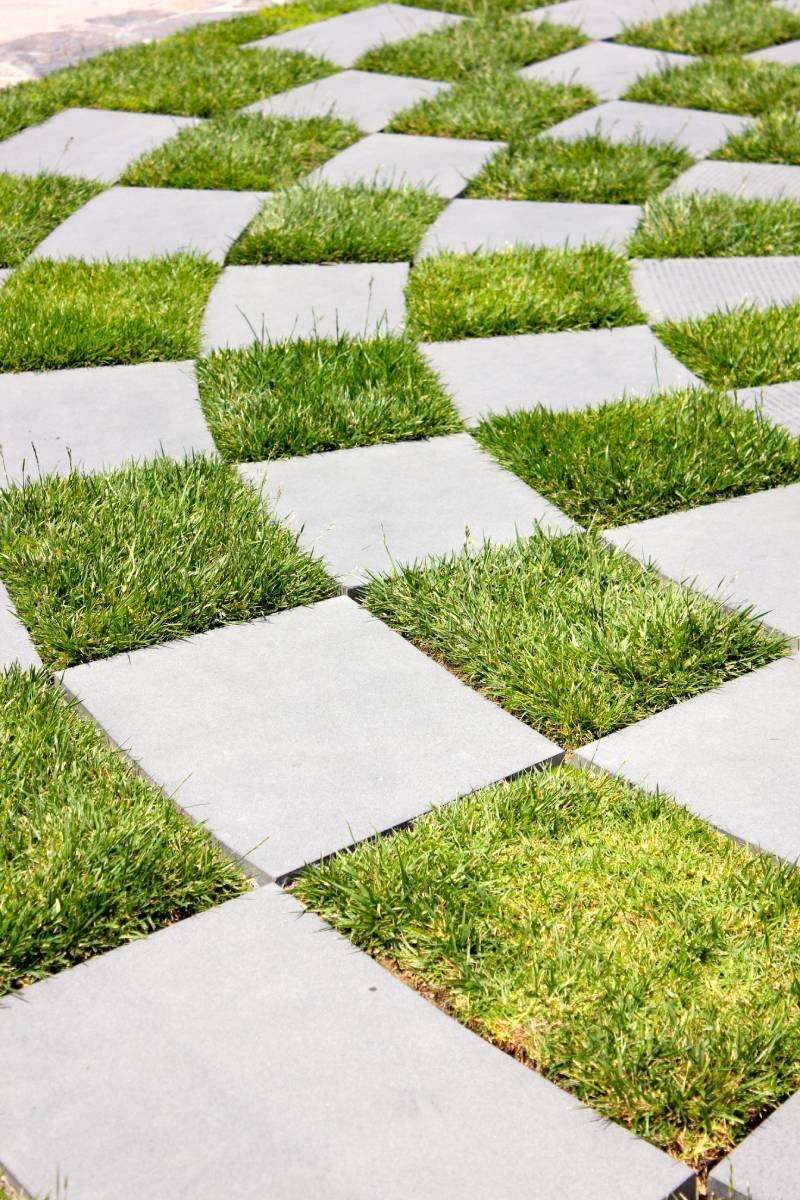
- Plant Grass: Fill gaps between pavers with grass seed or small pieces of sod.
- Water Regularly: Keep the grass moist until it establishes itself.
Step 9: Final Touches and Maintenance
- Clean the Pavers: Sweep away any remaining sand and rinse the pavers with water.
- Inspect Regularly: Check for uneven pavers or gaps and address them promptly.
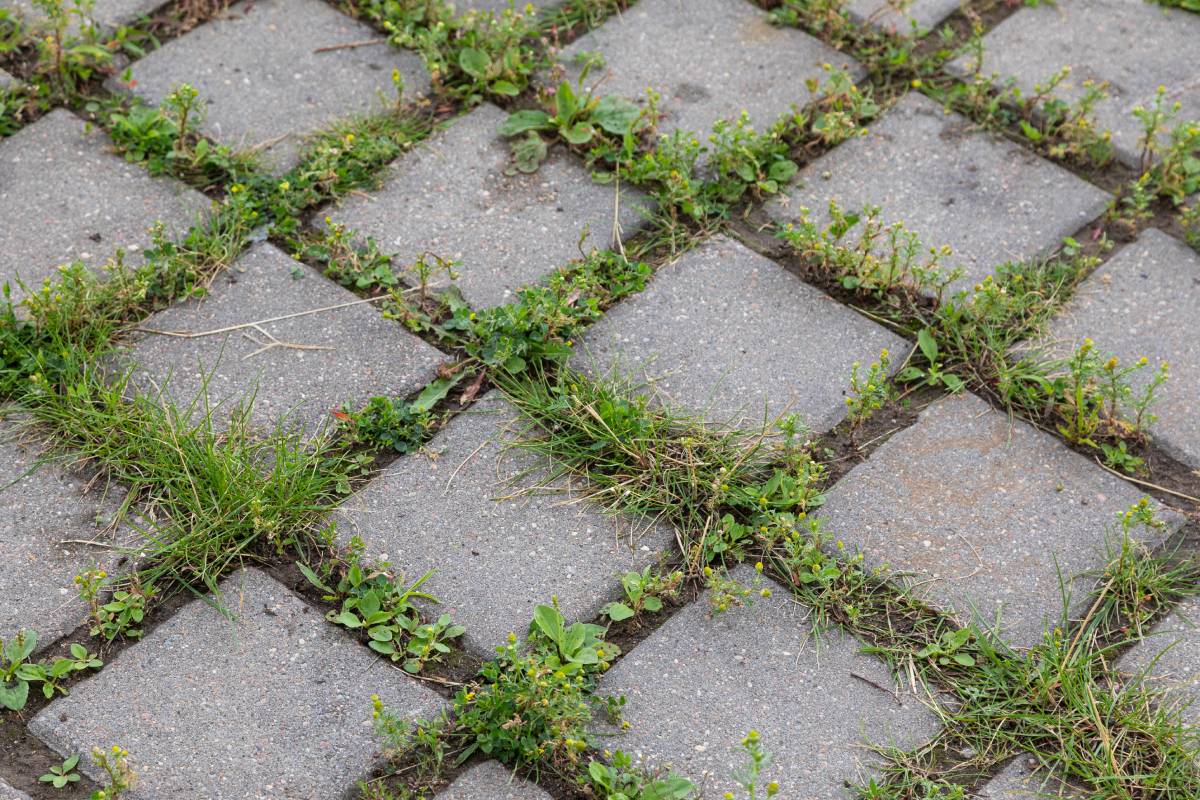
- Weed Control: Pull out any weeds that grow between the pavers and reapply sand if necessary.
Pro Tips for Laying Pavers in Grass
- Choose the Right Time: Perform this project during a dry season when the ground is firm.
- Test Your Design: Lay the pavers on the grass temporarily to visualise the layout before excavation.
- Allow for Drainage: Ensure a slight slope in your design to prevent water pooling.
- Edge Restraints: Use plastic or metal edging to keep the pavers in place over time.
Common Mistakes to Avoid
- Skipping the Base Layer: Without a solid base, pavers can shift or sink over time.
- Uneven Pavers: Failing to level pavers can create tripping hazards and an unprofessional appearance.
- Inconsistent Spacing: Uneven gaps between pavers detract from the overall look.
- Poor Planning: Rushing the design phase can lead to unnecessary corrections later.
Conclusion
Laying pavers in grass is a rewarding project that enhances the functionality and aesthetics of your outdoor space. By following this step-by-step guide, you can create a durable and visually appealing path or patio. With proper planning, the right tools, and attention to detail, your paver project will look like it was done by a professional.
Whether you’re adding charm to a garden or creating a practical walkway, this DIY project is sure to elevate your outdoor living experience.